
Các bước sơn nhà được ví như quá trình khoác tấm áo mới cho nhà ở vậy. Lớp áo này không chỉ có tác dụng tô điểm, trang trí, gia tăng tính thẩm mỹ mà nó còn bảo vệ công trình khỏi tác động của môi trường, thời tiết trong suốt một thời gian dài.
To have a beautiful coat, good quality and durable, besides choosing a good paint, the steps to properly paint the house are also very important. Strict adherence to the steps to paint the house can take a lot of time and effort, but in return, you will have a beautiful house, with a layer of "protection" that can be kept for a long time. So let MOIVAONHATOI learn the best home painting steps!
CHOOSE THE TIME OF PAINTING
Tiết trời thu mát mẻ, khô ráo là thời điểm thích hợp nhất để bạn thực hiện các bước sơn nhà. Đẹp nhất là vào khoảng cuối tháng 8, tháng 9, tháng 10 dương lịch. Chọn thời điểm này, vì thời tiết không ẩm, lớp sơn sẽ khô nhanh hơn, việc thực hiện các bước cũng đơn giản hơn. Bạn vẫn có thể sơn nhà vào những mùa khác trong năm, nhưng nên tránh thời điểm trời mưa kéo dài hay khi độ ẩm không khí tăng cao bởi công trình sẽ lâu khô và có thể bị bong tróc, ngấm ẩm,…
However, it is also not recommended to paint the house when it is too sunny because the solvent evaporates faster when encountering high temperatures, which will reduce the paint adhesion, easily causing peeling, cracking, cracking, wrinkling.
CHOOSE REASONABLE COLOR
Choosing the right house paint colors is a very important step. But don't worry too much in this step because most of the paint company There are a wide range of colors on the market to choose from. You should choose a quality paint company, and a skilled painter to ensure that the paint is exactly what you want.
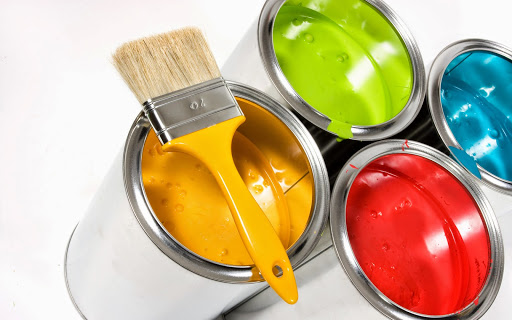
Paint in addition to many brands, there are many types but mostly water-based paint. Choose a paint product based on your decorative tone and affordability.
Finally, don't forget to consult these architect chuyên về interior design để phối kết hợp màu sắc sao cho độc đáo và đẹp mắt, mà vẫn hài hòa với tổng thể.
CALCULATION OF PAINT TO BUY
Để tiết kiệm tài chính thì việc tính toán lượng sơn cần mua cũng là một trong những điều quan trọng trong các bước sơn nhà. Bạn cần biết rõ độ phủ của từng loại sơn để tính toán chính xác lượng sơn cần mua. Độ phủ chính là số m2 mà 1 lít hay 1kg sơn có thể phủ lên bề mặt vật cần sơn như tườnghay kim loại. Độ phủ cũng phụ thuộc vào bề mặt construction là phẳng, hay cong, hay nhấp nhô. Theo đó, lượng sơn cần dùng cho bề mặt gồ ghề sẽ tốn kém hơn so với cho bề mặt phẳng thông thường.
To calculate the exact amount of paint to buy, you can refer to the table below:
See more: Quotations for construction of townhouses Just fill in the area, the number of floors
STEPS OF PAINTING FROM AZ
The steps to paint the house include: Surface cleaning -> Construction of waterproof paint -> Mastic -> Alkali resistant primer
-> Roll the first layer of paint -> Roll the second layer of paint.
The general rule of painting is to paint from outside to inside, from top to bottom. You should paint from difficult areas first to easier areas.
Specifically, the steps to paint the house are:
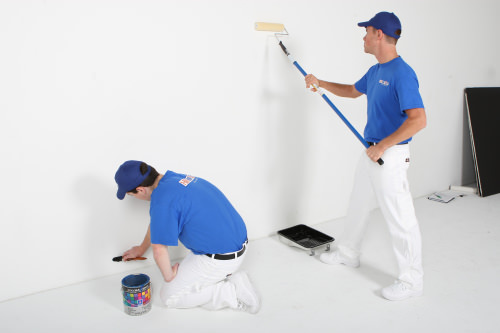
STEP 1: SURFACE CLEANING
For the coating to be smooth, to adhere well, the preparation of the paint surface needs to be done carefully.
With new construction, steps to paint the wall can only be done when the wall surface has reached the required dryness. If the humidity of the wall exceeds 15%, it will cause the paint film to degrade quickly, causing peeling, blistering or color mottling. In ideal, dry weather, you can start painting with about 3 weeks after applying. In fact, waiting for the wall to dry on average can take up to 2 or 3 months. This can be considered as the wall maintenance period, so that contaminated impurities in bricks and mortar decompose, helping the construction surface to be always stable, and "healthy". Remove the remaining sand particles on the wall by cleaning the surface with fine sandpaper and then proceed to clean the dirt. The surface of the wall with no dirt, dust, moss or any other factors that reduce the adhesion of the paint is up to the standard.
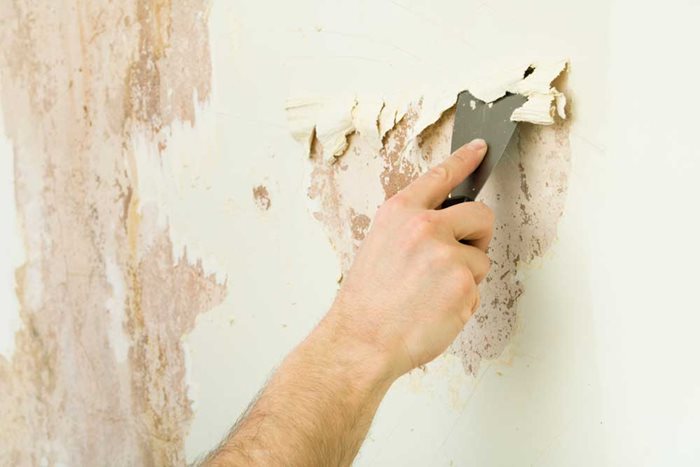
With old walls (the house is repainted), before painting, we need to remove all dirt, moss, impurities and peeling old paint. If the surface of the wall is new, use sandpaper or abrasive stone to beat the wall to create adhesion to the new coating. After cleaning, you must rinse it with clean water, wait for it to dry, then start painting
When treating wall surfaces, you should keep the following in mind:
- Wall surface containing sand, powder, dirt: Clean the surface with a high pressure hose. You can also incorporate a mild detergent for even greater results. In case the surface has a lot of powder, apply 2 more alkali-resistant primers after cleaning the surface.
- Wall surfaces containing plaster, cement mortar, old paint film: Poor wall surfaces should be leveled with measures such as chiselling, rubbing, scraping the paint film, and then re-plastering with a suitable powder.
- Wall surface contains fungi, mold, moss: Clean the surface under strong tap pressure. You can use additional scraping tools, chisels or fungicides. Then rinse the wall surface with clean water and allow to dry naturally.
- Oil and grease wall surfaces: Use a mild detergent and a little solvent if needed. Finally, rinse thoroughly with clean water to completely remove the stain.
STEP 2: EXAMINATION EXAMINATION
Waterproofing is an important step in the painting of houses, in order to protect the building from the effects of rain and moisture. This stage must be paid more attention to in a country with a tropical monsoon climate with as much rain as our country.
First, you need to check and waterproof the construction surface in contact with water sources such as outdoor walls, or near flower beds, fish tanks to achieve the best results. After that, we can carry out waterproofing from behind the water source or waterproofing areas not in direct contact with water.
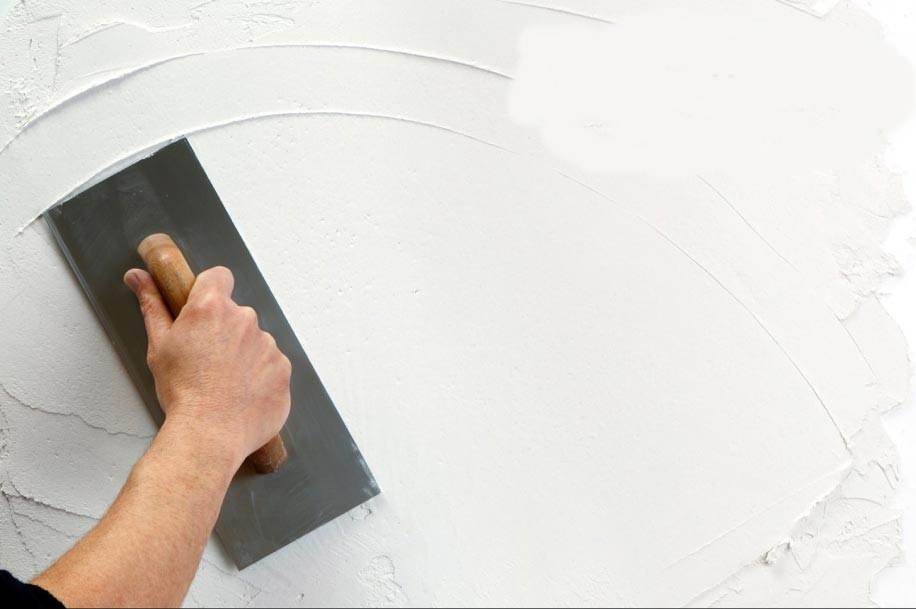
STEP 3: MASTIC TABLE
Putty (matt) is applied in the house painting steps to create a flat surface for the wall, covering cracks and defects before applying primer or topcoat. At the same time, it also helps to increase the texture adhesion for the next coat of paint. As noted above, painting flat surfaces is less expensive than undulating surfaces because the amount of primer and topcoat required will be less. Therefore, applying matis to create a flat surface for the wall not only increases the aesthetics, but also makes painting the wall simpler, faster and more economical. There are 1 to 2 layers of putty or no putty is used depending on the requirements and purposes of use. However, you should note that the thickness of the plaster layer should not exceed 3mm to avoid cracking, deformation of the paint film, or peeling.
Mix the matis bait with water in the ratio of 3: 1, use the stirrer until the mixture reaches a homogeneous consistency. Next, apply 1-2 coats, each time applying 1 layer about 2-4 hours apart. Wait 4-6 hours before sanding. After sanding, wait 1-2 days for the surface to be firm before cleaning and applying the primer.
Note, after mixing matis powder should be used immediately for about 1-2 hours otherwise the powder will be dry, hard can not be used anymore.
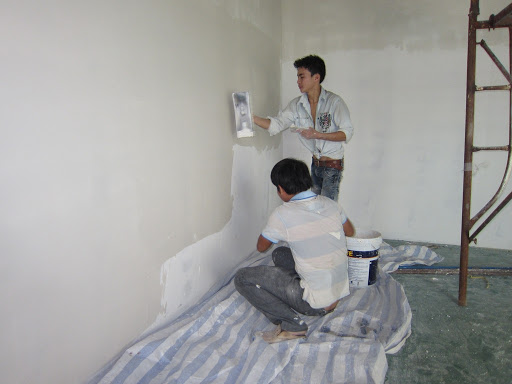
STEP 4: APPLY ANTI-KINDING SKIN
In the steps of house painting, primer is responsible for preventing alkali (in cement, lime), preventing moisture, preventing osmosis, and enhancing the waterproofing ability of the wall surface. You can choose to paint 1 or 2 coats of your choice. Skipping the primer step usually does not affect the construction process, however, in the long term, will affect the quality and aesthetics of the paint color, causing the coating to be alkaline, patchy, not All colors. On the other hand, you will spend more topcoat if you do not use primer, as the putty will absorb the topcoat. The primer is much cheaper than the primer, so if you want to save money, don't forget the priming step. Even white coatings have a higher cost than primers, but are not resistant to alkali, prevent moisture, create adhesion, smooth as well as primer.
See more: Quotations design interior construction apartments Just fill in the area, the items to be constructed
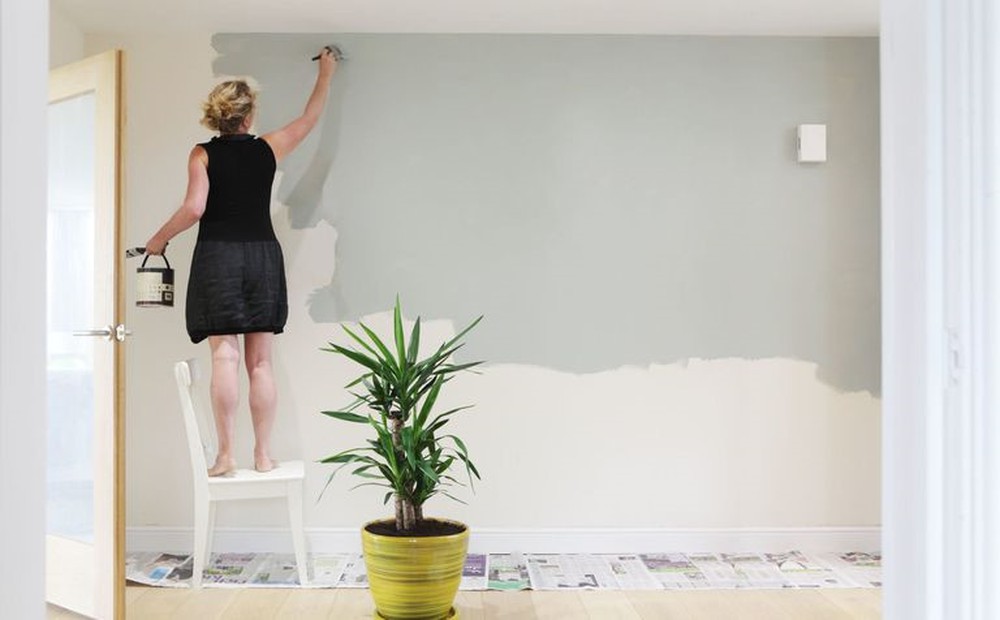
STEP 5: COLLECT THE FIRST COLORS
Paint coating is like a shirt that protects a wall, and makes it more eye-catching. Normally, people will paint 2 coats instead of just 1 coat because 1 coat of paint cannot guarantee aesthetics and quality. The two coats of coating, although it takes more time and costs, will create a more beautiful, smooth, color film, helping the beauty of the wall stay longer.
The first coat will be applied at least 2 hours after the alkali-resistant primer has been applied.
Before application, dilute the paint with 5-10% volume of clean water to increase the coverage, as well as make the application easier. With the wall surface painted directly (without the putty matis), the paint should only be mixed with no more than 5% of clean water.
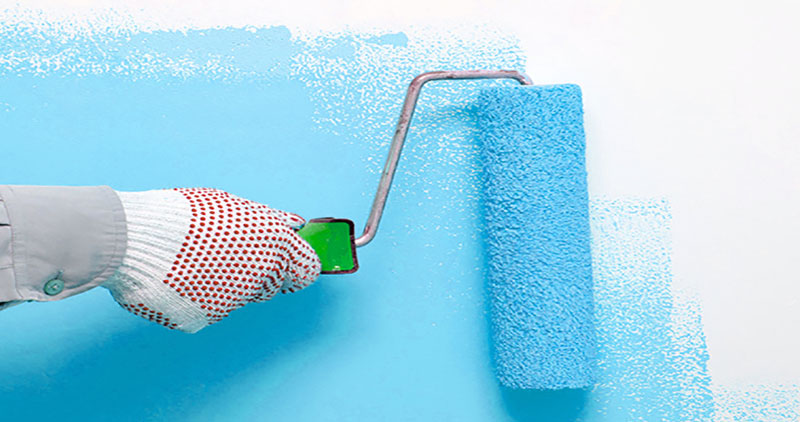
Application tools can be brush, roller or spray paint depending on the specific wall surface. Paintbrush is the best tool for areas with narrow, small, rough, detailed, angular surfaces. The roller makes painting quick, but the edge of the roller is very soft, so it doesn't create a sharp and tight paint line like a brush. Therefore, you should use a roller to paint large surfaces that will help the paint coat quickly, while ensuring even and smooth over the entire surface, without leaving marks.
Sau khi sơn xong lớp thứ nhất, cần kiểm tra những điểm còn tồn tại của các bước sơn nhà trước đó để có thể kịp thời sửa chữa trước khi chuyển sang quét lớp sơn thứ 2.
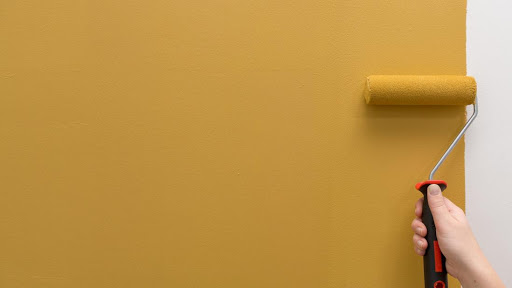
STEP 6: APPLY THE SECOND COLOR COVER
After about 2 hours of finishing the first coat, you can apply the second coat, which is also the last one. Tools and procedure are the same as for the first time as mentioned above. However, because this is the final finish, it is necessary to be very careful and meticulous when applying. After painting is finished, use a flashlight to illuminate the wall to see if the coating is even, there are paint brush marks on the wall. If there is a problem, you can repaint it to fix it, or find the appropriate measures.
WARNING WHEN APPLIING THE HOUSE
When doing the steps of painting the house, there are some very small things, but you may have missed. MOIVAONHATOI would like to remind you to pay close attention when painting the house:
- Paint cans should be placed in a safe location, process transport must be very careful. If you accidentally spill paint, you can collect it with soil or sand.
- Always wear a mask and use protective clothing and gloves while performing the paintwork steps because the paint smell is inherently toxic, and the paint is difficult to wash on the body.
- Always ensure the building is well ventilated during construction, can use fans to increase the coolness.
- If the paint is not used up, if it is necessary to destroy it, it must comply with the regulations on environmental protection such as: not red, or discharged.
- If paint gets in your eyes, you need to get first aid immediately with clean water and go to the nearest medical facility for treatment.
Above are the complete and most specific steps to paint the house. If you paint your own house, read and understand these steps carefully so that the walls in your home after painting ensure the best aesthetics!


